We take care of our car because, believe it or not, that’s our favorite toy. Many people talk about their vehicles so passionately as if it’s their family member. However, we often overlook small but essential parts of our cars, such as the rubber trims on your car window, seals and moldings, badges and emblems, etc. These cuties also require some of your attention and timely maintenance. After all, they are essential for more than just good looks they offer to the car.
These components get as dirty as the rest of your car’s exterior. In this article, you will get a super easy step by step guide on how to clean rubber trim around the car windows. Time to time cleaning helps in preventing the trim from becoming dull and worn. This process may require a bit more time and your full-time attention, but it is relatively convenient. Let’s dig into the details of the process.
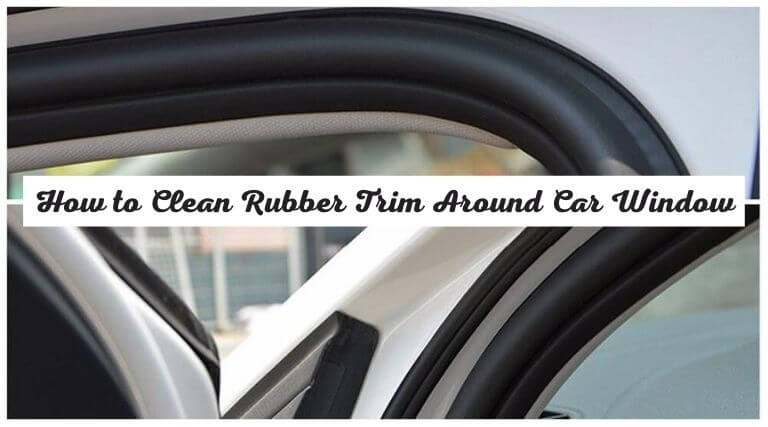
How to Clean Rubber Trim Around Car Window
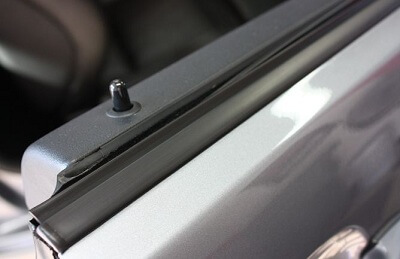
Dull and worn trims make your car look terrible, and well-maintained trim helps your car look great! Some of the everyday trim items include chrome bumpers, light rings, and door handles. Apart from that, it also provides window molding, wipers, bumper guards, emblems, and antennas. Classic and antique cars may also have horns, hood ornaments, etc.
Things You Will Need for the Cleaning:
- Wax solvent
- Dish soap or Mild detergent
- Hot water with Bucket
- Soft sponge
- Microfiber cloths
- Hose and water
- Rubber protectant
Step 1: Apply a Wax Solvent
Your car needs a wax solvent for all your rubber seals. It helps your trims and tires to get shine. So, first thighs first, you need to remove the wax if you want to clean and improve the protectant to work correctly.
Step 2: Make Simple Cleaning Solution
The best part about this process is that you don’t need to go to the market and buy some specific solutions to clean the trim. You can make your cleaning solution at home. For that, take a vessel and combine hot water with dish soap. This solution can be applied to the rubber seals all over the car.
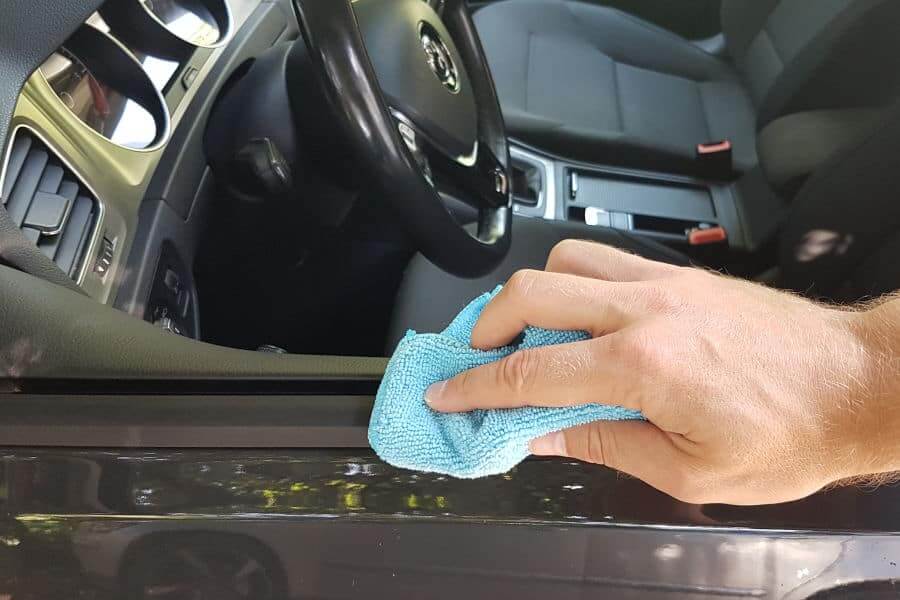
Step 3: Apply the Solution
Once the cleaning solution is made, take a very soft sponge or soft towel for the application. Make sure that the bristles are soft to reduce the risk of scratching the paint or any other metal detailing.

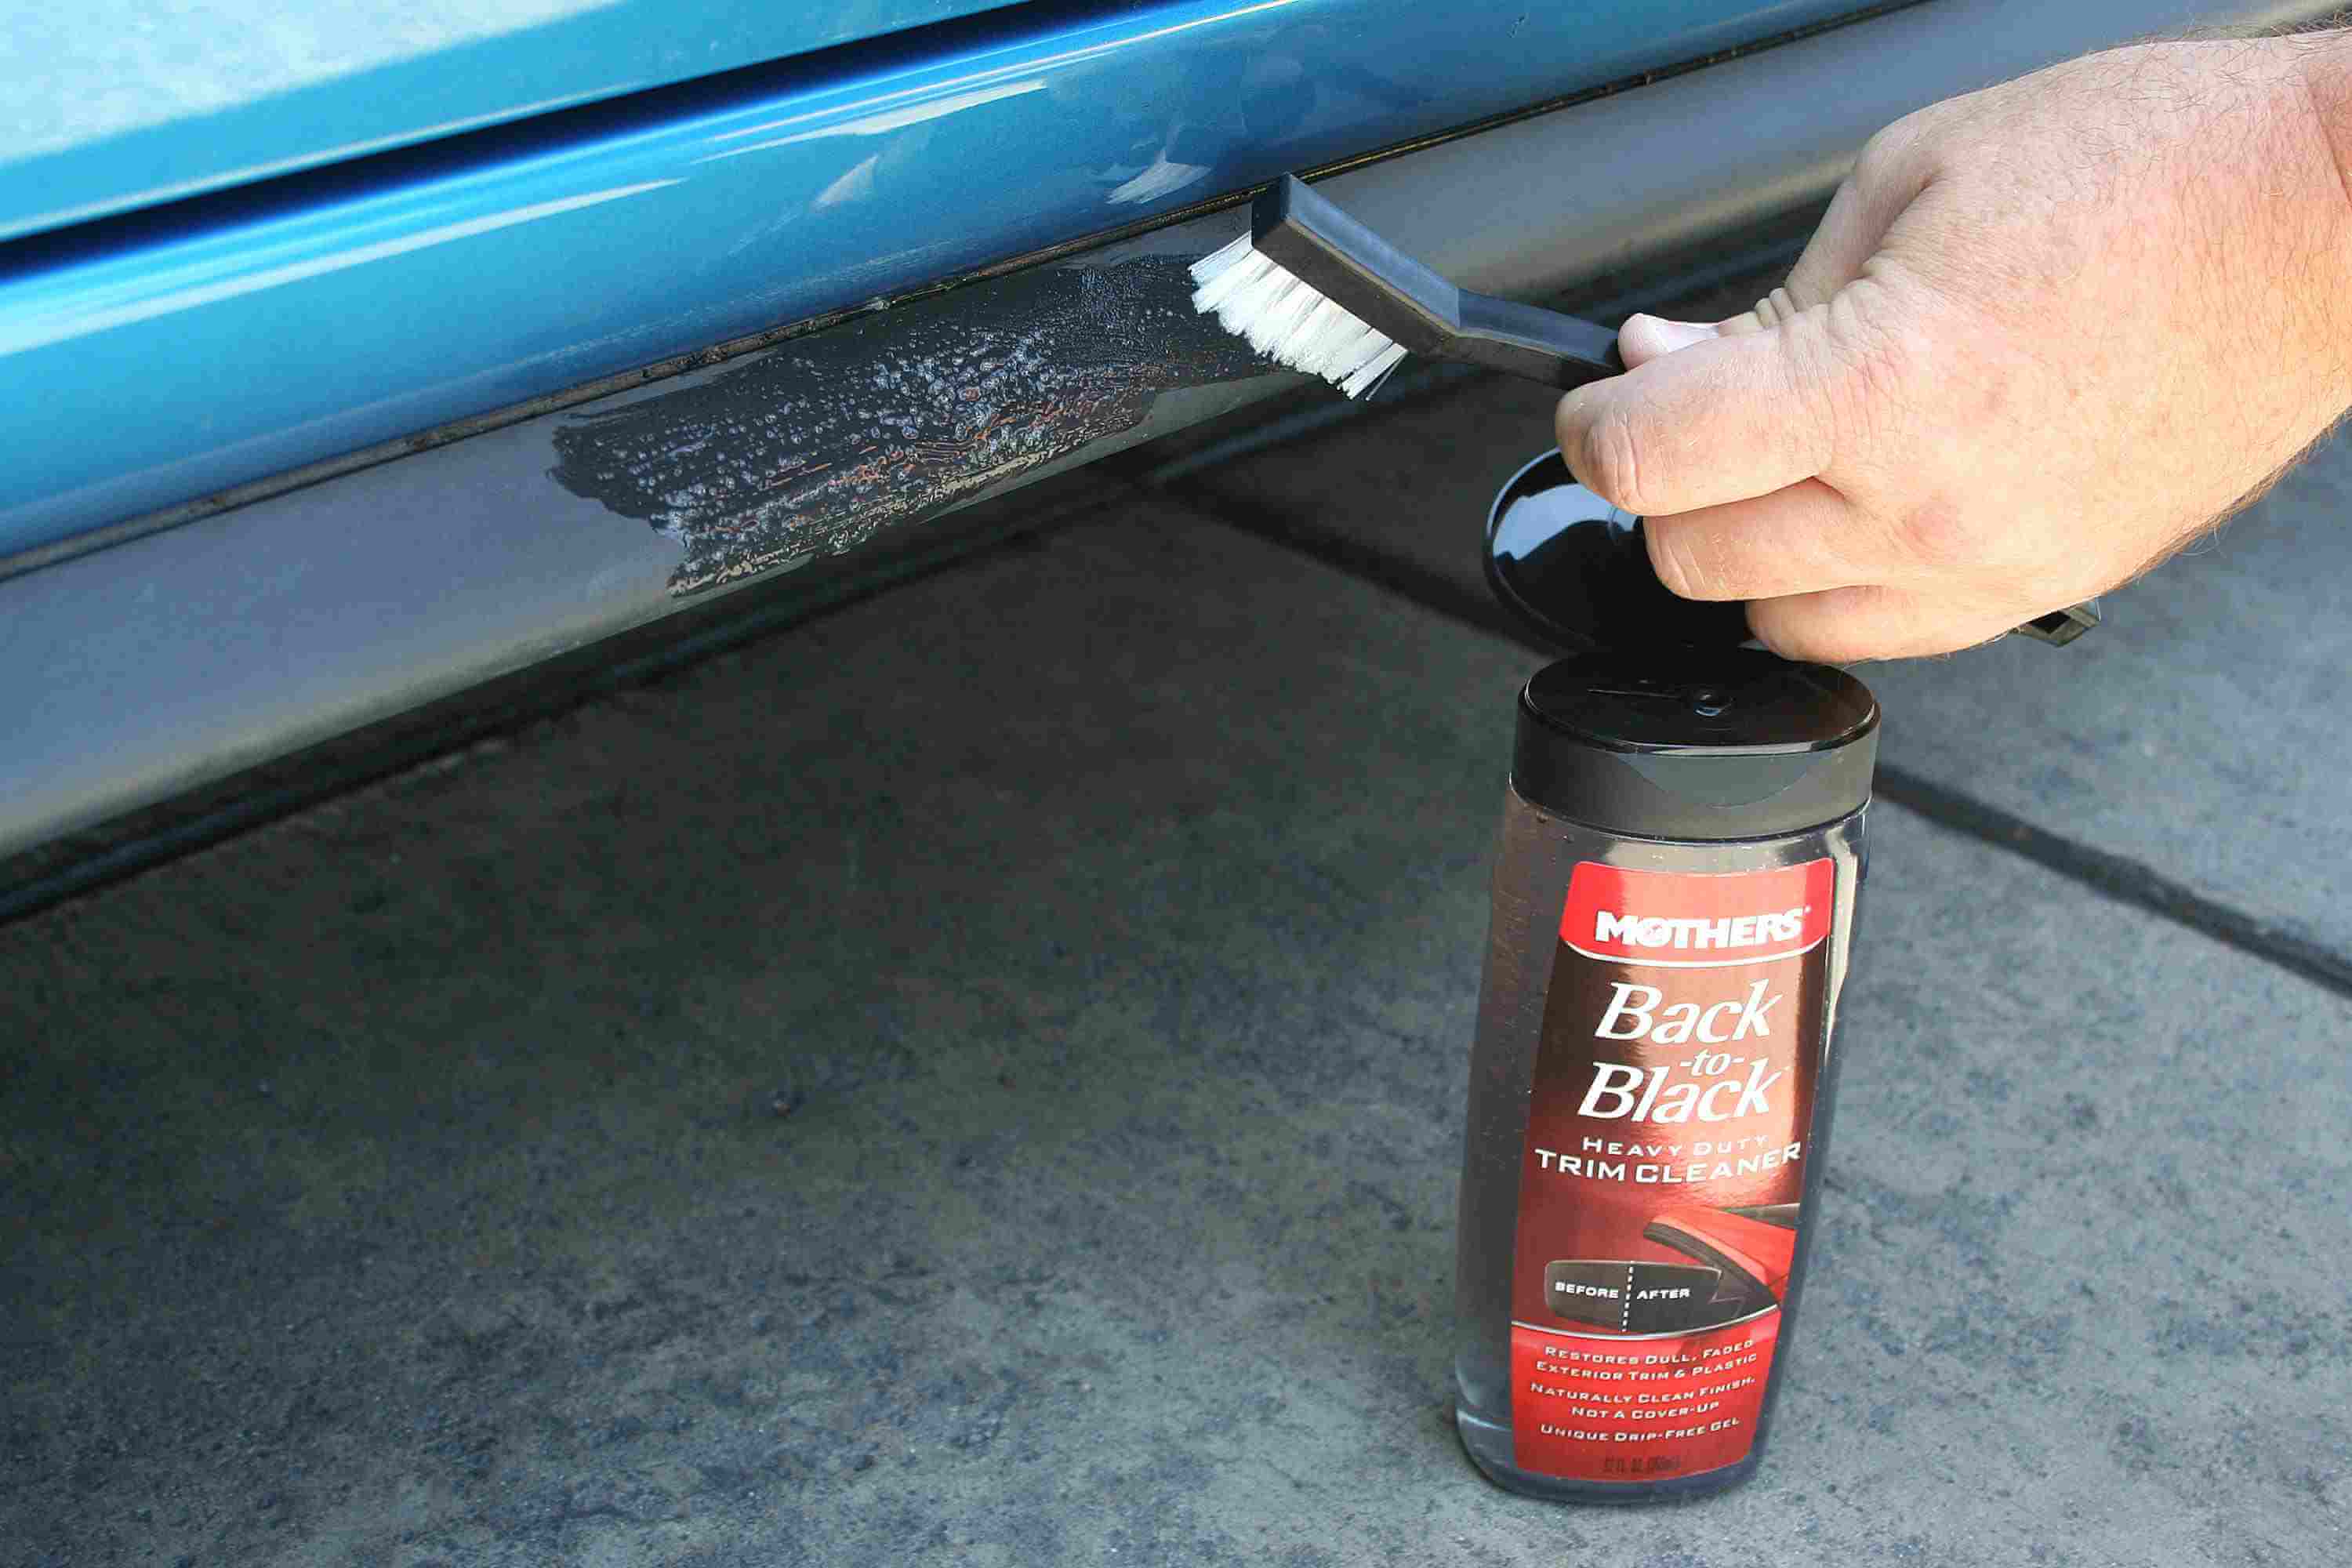
Step 4: Dry it off with Soft Cloths
Take a soft dry cloth and pour a few drops of the rubber protectant solution. Once the fabric becomes damp, and the solution is adequately soaked, gently rub the back and forth of the rubber until it shines. This protectant can also help in scrubbing any dust particles that were not removed during the initial washing/cleaning.
Step 5: Check the Interior
While the exterior of your car is drying, see if the interior needs a touch-up. It is obvious that the interior rubber trim might not get dirty or damaged easily, but it’s better to check it too. If you don’t see any visible spills, then take a soft towel and wipe it clean.

Extra Tip to Keep the Trim Safe for Longer Period
Try to use a rubber sealant along with the rubber protectant. It ensures that the water will slide right away, and even UV rays will not bother your vehicle. This way, you can restore your car’s color and shine.
Why do You Need to Clean Rubber Trim?
- To prevent moisture, dust/dirt particles, and other contaminants from getting into your car through the window.
- To prevent rust or corrosion of the door. (An uncleaned or damaged rubber strip on your window can lead your car to bad corrosion.)
- To get rid of moisture available on the rubber trims. (Moisture is bad for the electronic window controls, and many modern cars have that feature.)
- To improve the durability of the rubber by protecting them from radiations, which can make the rubber hard and brittle.
- To avoid the car paint’s damage. (Your car paint is protected by a clear coat when you purchase it. But, your rubber trim doesn’t have that extra layer of protection. So, you need regular cleaning to keep it in good condition.)
The Bottom Line
UV rays and ozone are the two elements for your car trim/rubber seal damages as well as discoloration. Once you clean such parts, it is essential to use a vinyl or rubber protectant to reduce the possibilities of further damage. So now we hope that you got an idea of how to restore rubber around car windows. Stay tuned to this website for more such updates. We will see you soon. Till then, stay safe, and don’t forget to wear masks while roaming outside.

Hello, I am Stephen Lombardo. I want to expand my automotive business. I have one large vehicle garage, and I like to do a car wash, repair and joint the cars, and motors parts. If you want to buy any car or vehicle accessories, feel free to reach out with our contact email.