

This article is for you if you are looking for how to put rear view mirror back on mount or how to attach rear view mirror to windshield. You see almost all of us know what a rearview mirror is, and how it works! But, let me brief it for our young drivers and teenagers. A rearview mirror is a mirror which is designed to direct the driver towards the back while reversing the car or any other vehicle. Such mirrors are glued snug to the windshield, and they can also occasionally fall off, just like the other parts. In this article, you can get a quick and step-by-step guide to glue a rear view mirror. Take out your tools, and let’s get back to work.
There are many reasons for coming off the rearview mirrors, like a car crash, heavy bumpers, hard jerks, accidental head bumping to the mirrors, etc. Apart from that, constant sun exposure or the heat, and car vibration can also play a role in falling off the rearview mirror. Old cars are likely to have such issues on a frequent basis.
How to Glue Rear View Mirror on Windshield?
If you have a broken mirror, it is essential to replace it as soon as possible to make the car’s rear visibility intact. Reinstalling the rearview mirror is not a tough job, and you can also do it in on your own. You can find DIY kits at any automobile shops or garages. To install the mirror, you will need the following;
- A rearview mirror
- The mirror attachment kit
- Window cleaner or Clinical alcohol
- Razor blade
- Dryer (optional)
Steps on How to put rear view mirror back on mount
Now here is the steps on how to attach rear view mirror to windshield or how to put rear view mirror back on mount these steps will apply in either case.
Step 1: Removal of Mounting Button
Every car’s windshield contains a mounting button which is expected to be removed from the mirror assembly at the time of repairing or replacing the rearview mirror. It can be removed by either sliding it off or unscrew it from the mirror’s arm. This removal is the primary step of the process.
Step 2: Warm the Windshield
the second stage in this guide on how to put rear view mirror back on mount is to warm up the windshields. Generally, our car gets cold and so does the windshield. Professionals suggest that it is essential to keep the windshield warmer before applying the activator. An icy windshield may not allow the glue to stick on the glass properly, causing condensation. To avoid such mess, we must apply heat by the hair dryer or some other tools to the windshield as a warm-up process.
Step 3: Removal of Old Adhesive
After the warm-up session, now it’s time to clean the windshield to remove all the old adhesive so that the glass can become perfectly clean. To remove the dried glue on the mounting button, use the razor blade. After that, take window cleaner or alcohol to clean the windshield and back side of the bracket. Avoid finger touch to save the windshield from getting oily.
Step 4: Measurements and Marking
If you have some old cars or vehicles, take a tape and stick it to the outside of your windshield so that you can get the exact spot for the bracket to go on the inside. New vehicles come with a black band on the outside which can help us to decide where the bracket should go inside. So, the fourth step is to mark the exact point. moving on to the next step in this on how to attach rear view mirror to windshield is the application of an activator. See the steps to do below.
Step 5: Applying the Activator
After deciding on the exact spot, now it’s time to use an activator spray on both surfaces. It is important to cover both – the inside of the windshield and the back side of the bracket. Give it some time so that it can be dried thoroughly. It will not take much time and may take only a few minutes.
Step 6: Gluing the Mounting Button
Put some glue on the basket and some on the mounting button. Do not put even a small amount of glue on the windshield. Firmly push the button onto the windshield. Keep the button pressed for a minute or two. Just keep in mind that applying the adhesive on the right side of the bracket is vital to get results.

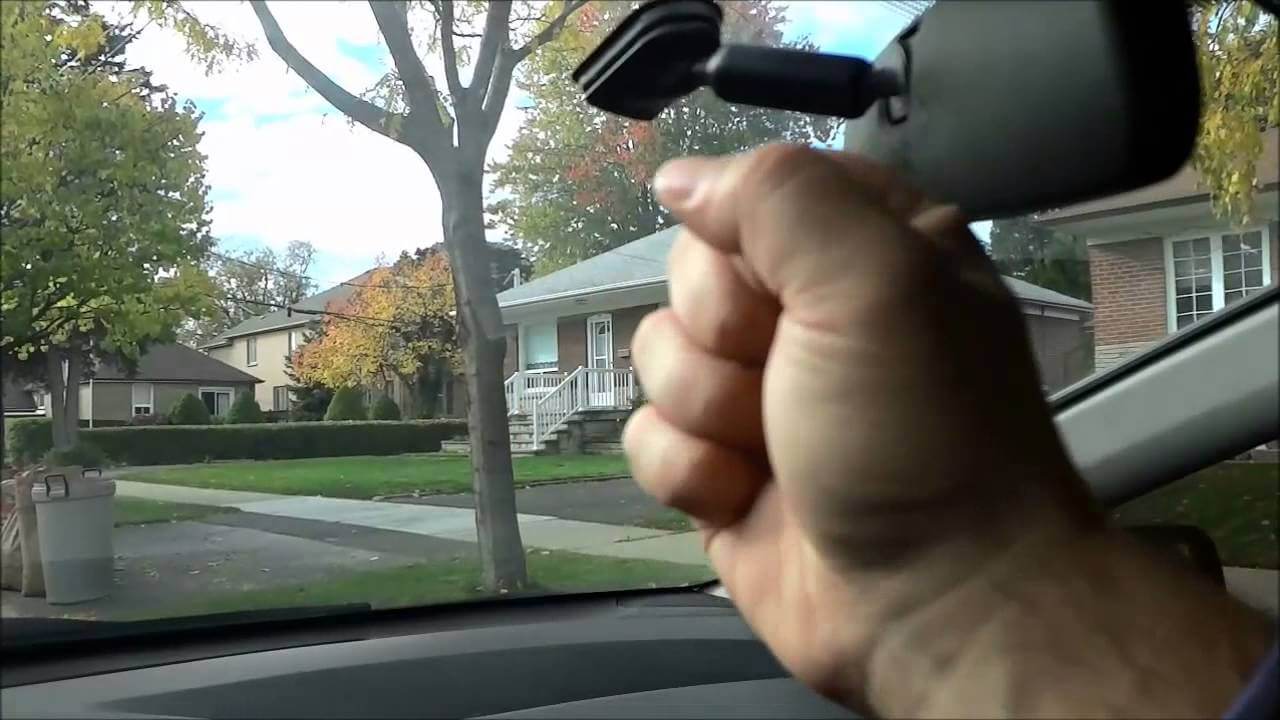
Step 7: Rear View Mirror Attachment
And the final step in this article on how to attach rear view mirror to windshield is the rear view mirror attachment. After waiting for 5 to 10 minutes, once the bracket fully adheres to the windshield, attach the mirror to the mounting bracket. Don’t forget to read the manufacturer’s instructions regarding the attachment.
Which Glue to Use on Rearview Mirror?
If you are getting confused which are the best glues available, then according to many other professionals and me, Loctite 37438 Rearview Mirror Adhesive Kit and Rugged Ridge 11020.02 Rear View Mirror are the best options to buy. Apart from that, you can also go for Auto Vox Wireless Reverse Camera Kit if the budget is not an issue.
That’s it in this post on how to put rear view mirror back on mount. This is the step-by-step guide on how to glue rearview mirror! If you still feel that it is not your cup of tea and you will end up messing up the whole process, you can go to the automobile mechanic and get some help.

Uchenna is a Radiographer and Auto parts mechanic who recently got his automotive diploma as an auto repair technician, and since then, has worked on fixing various car problems.
Working as just a radiographer, Uchenna didn’t just get all the fulfillment he desired, because he truly loved doing things tilted toward cars. As a kid, he would take apart his toy cars to see how they worked and would spend hours tinkering with his bike.
So, in 2017 he made the tough decision to become an auto mechanic. He threw himself into his studies and now loves every aspect of what he does.
He gets to work with his hands, solving problems and bringing cars back to life, and sharing his knowledge and easy quick-fix guide online are all part of what makes him feel fulfilled.